Disclaimer: When using Unity assets, be mindful of licensing restrictions, version compatibility issues, and reliance on third-party content. Always check the asset’s terms and documentation before adding it to your project.
While creating your environment in Unity, you’re allowed to use the Unity Asset Store to download assets and use them for your project, following the correct guidelines.
From here you’ll find a multitude of assets ranging from 3D to 2D assets, for this guide we’ll mainly be focusing on using the 3D tools. Heres the link to the 3D Unity Asset Store, make sure you’re logged into your Unity Account to access downloads.
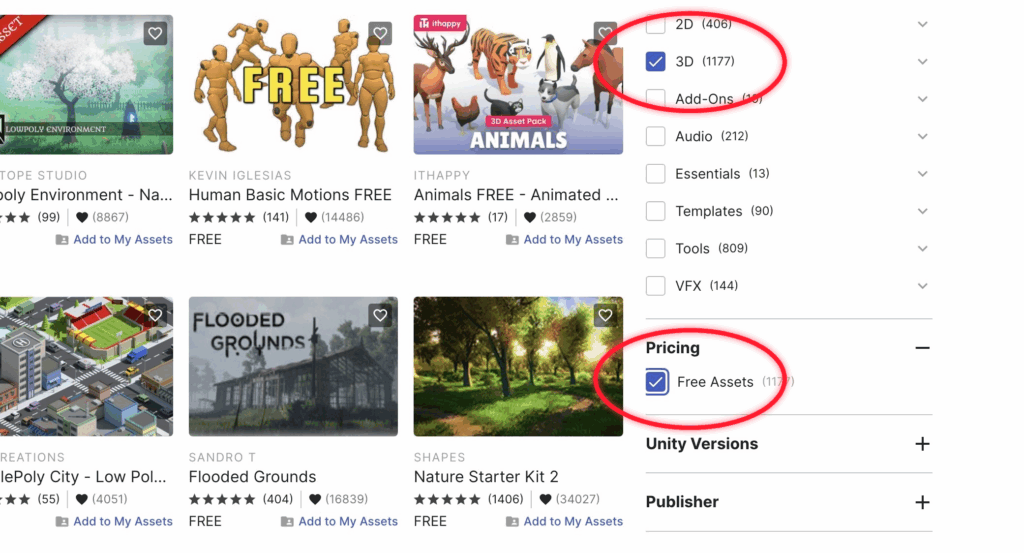
On the side of the Unity Asset Store theres going to be a filter that allows you to find any type of asset, we’ll be using the free assets, so under Pricing you want to check Free Assets.
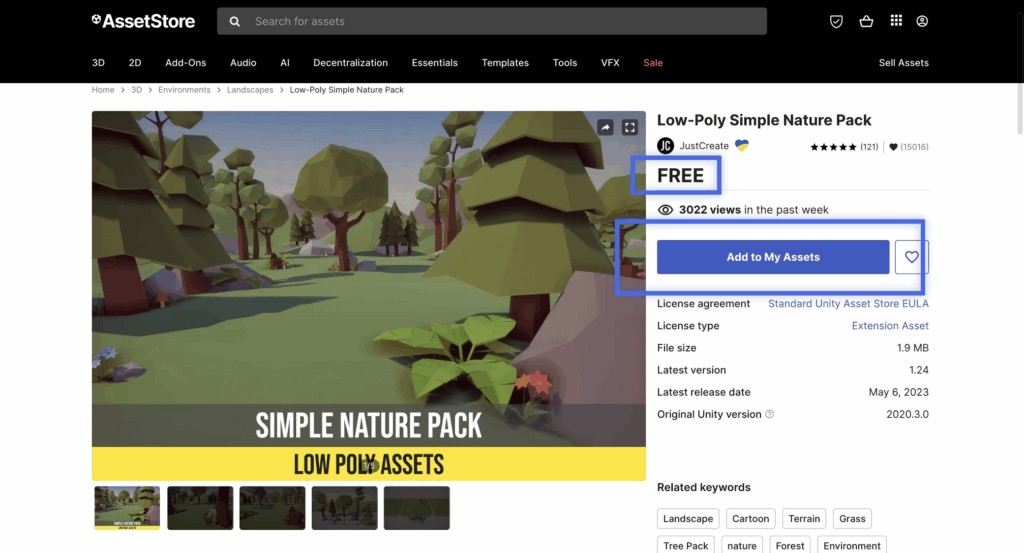
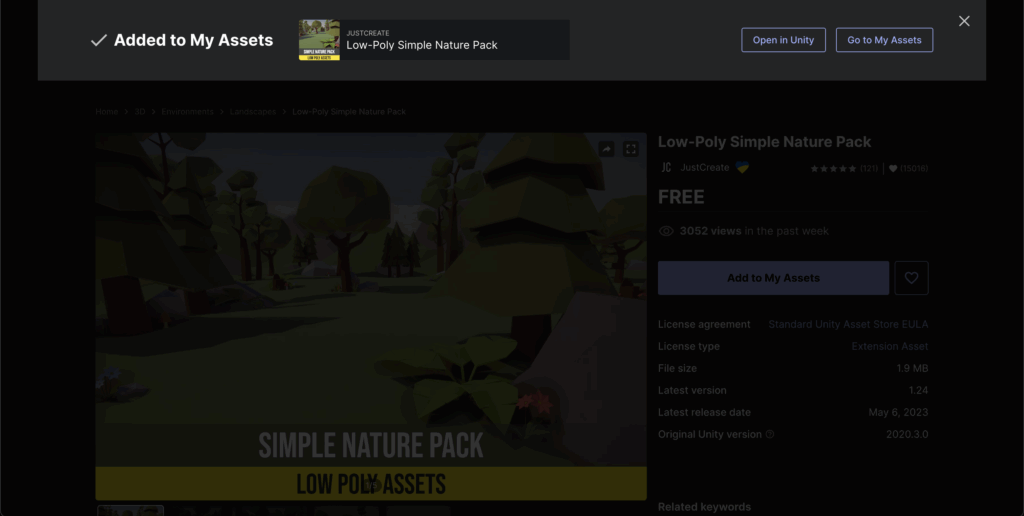
Then choose a free asset to download, and it’ll bring you to asset page with a “Add to My Assets” button. Make sure the page also has the word FREE above the button.
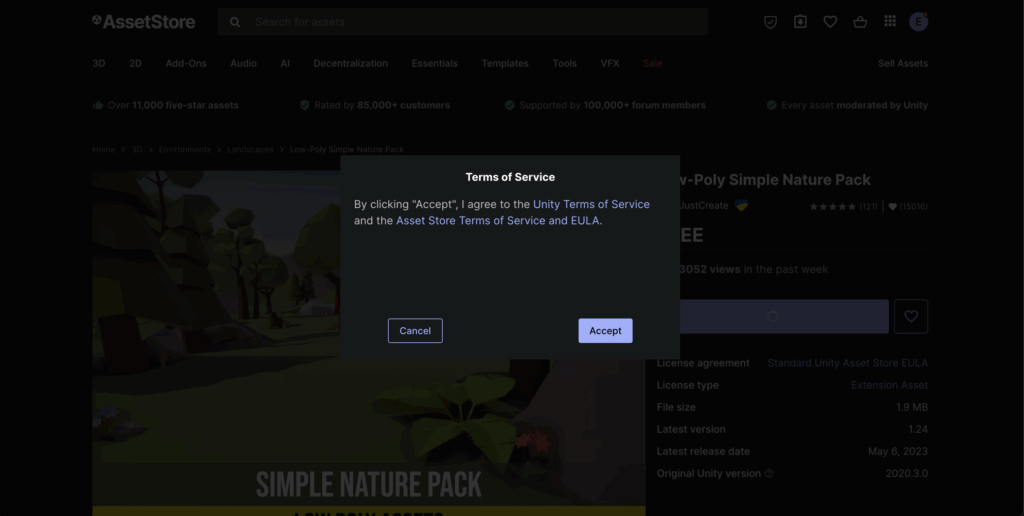
After clicking “Add to My Asset,” you’ll see a pop-up appear about the Terms of Service. It’s important to understand that even free assets may come with specific rules or restrictions on how they can be used.
After accepting the terms, another pop-up will appear asking if you want to open your assets in Unity. Click “Open in Unity.”
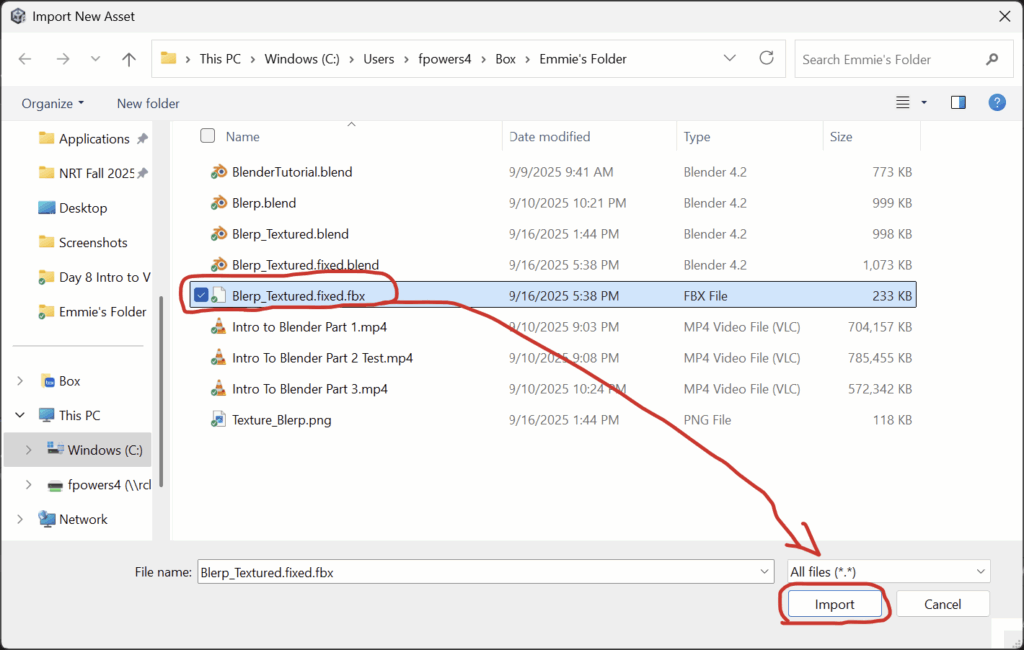
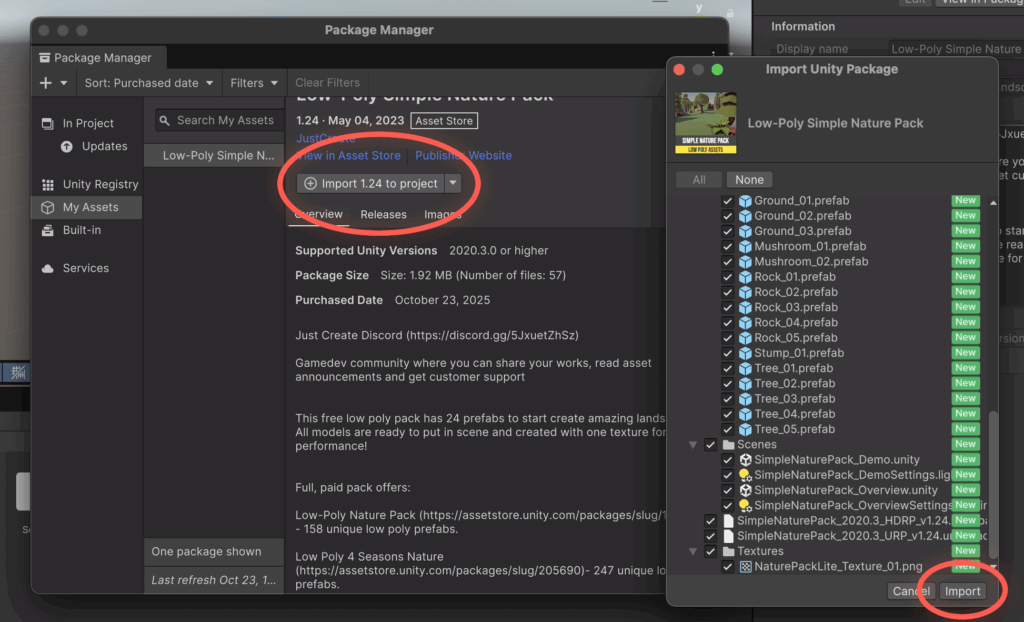
After opening Unity, you’ll see your package manager appear, then you want to select the asset you want to download and add it into your project by clicking download -> import to project -> import.
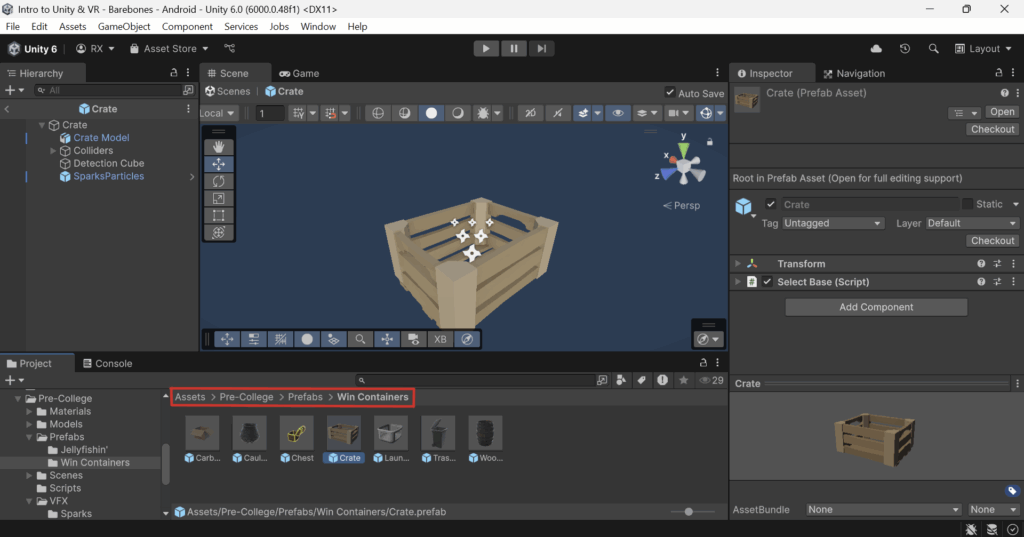
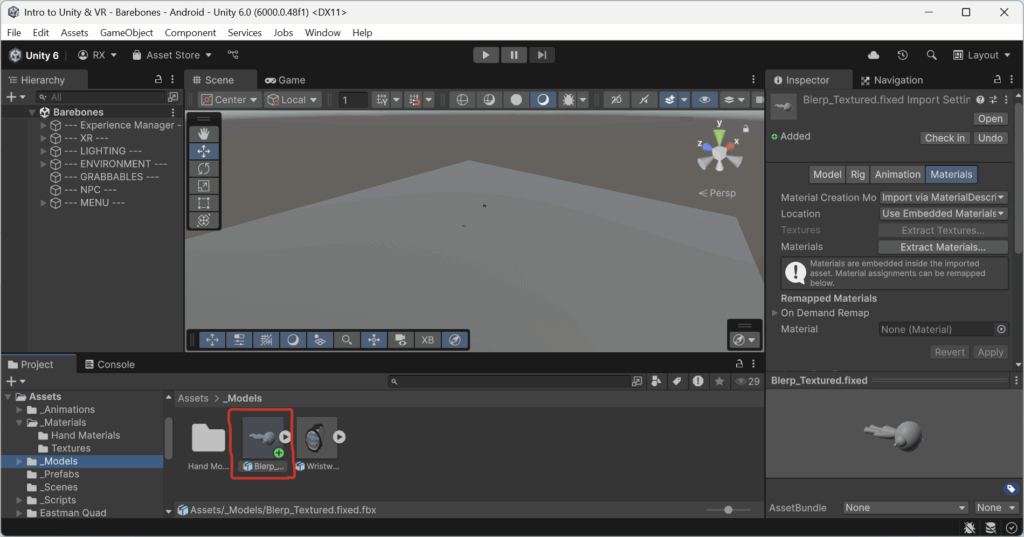
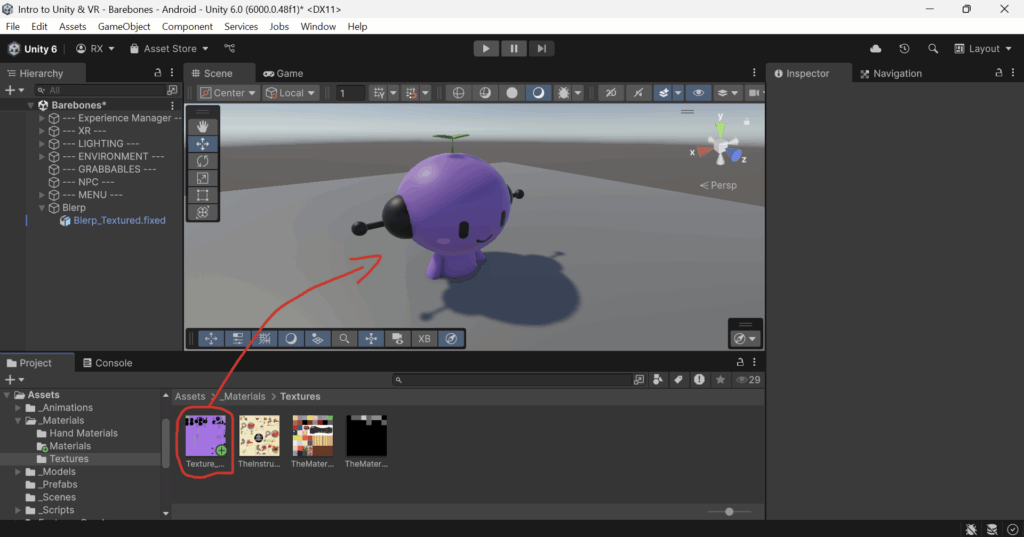
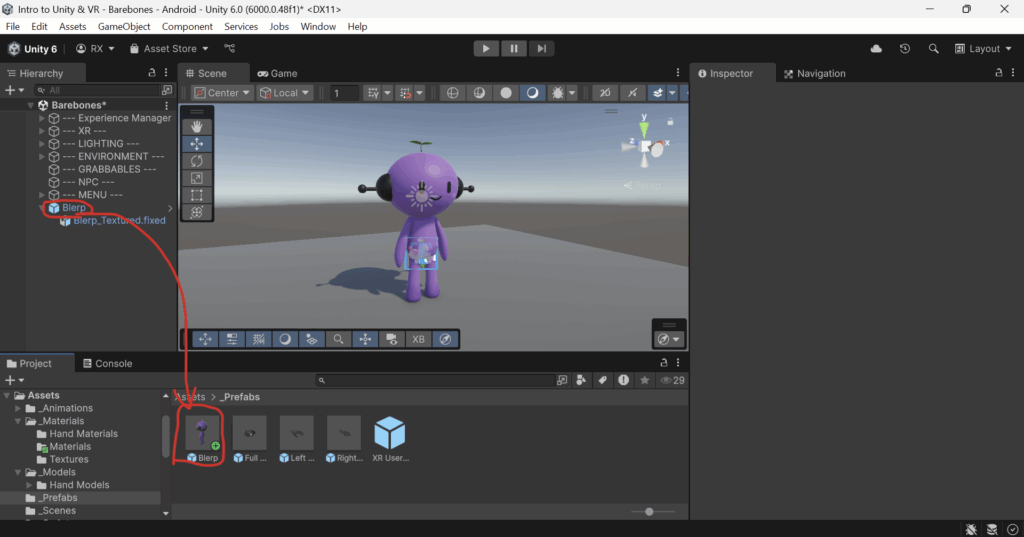
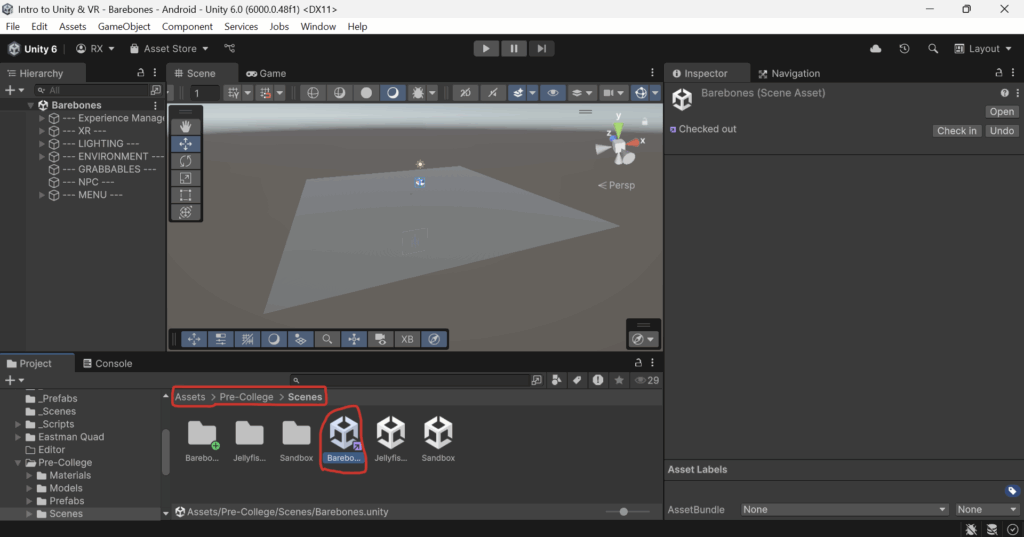
After downloading, you’ll see the folder appear in your assets folder, in there it should be organized and contain a material, model, prefabs, and textures folders!
Good Luck!