Follow this tutorial after you’ve finished How to Rig your 3D Model in Blender
To make this more simple, I’m going to show you how I would make a simple walking animation with my character, that way you can intuitively create your own animations later on.
Animating a character is kind of like playing with an action figure. You move its body into different poses, and then tell Blender to remember each pose. When you play the animation, Blender connects those poses to make the character move!
What is a Keyframe?
A keyframe, simply put, is a ‘marker’ on a timeline that stores the state of an object’s properties at a specific point in time.
What is a TImeline?
The Timeline is a panel in Blender used to control when things happen in your animation. You can find it at the bottom of your viewport hidden away, all you have to do is hover over the bar click and drag it up!
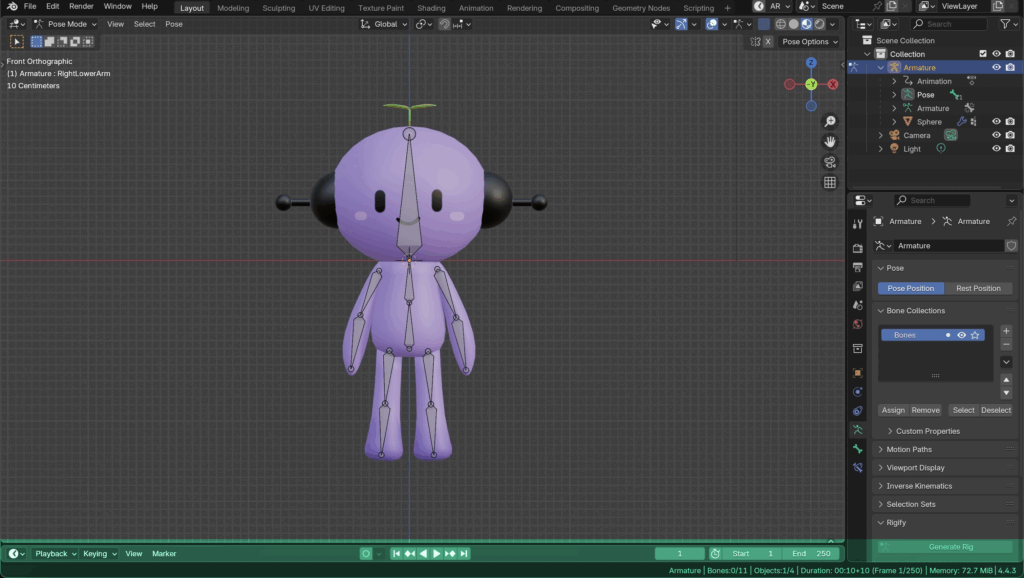
Step 1: First let’s make sure your rig is resetted.
- Select your armature in the hierarchy and switch to pose mode.
- Then select your entire armature by pressing A.
- Press ALT + R (Windows) or Option + R to reset your rig
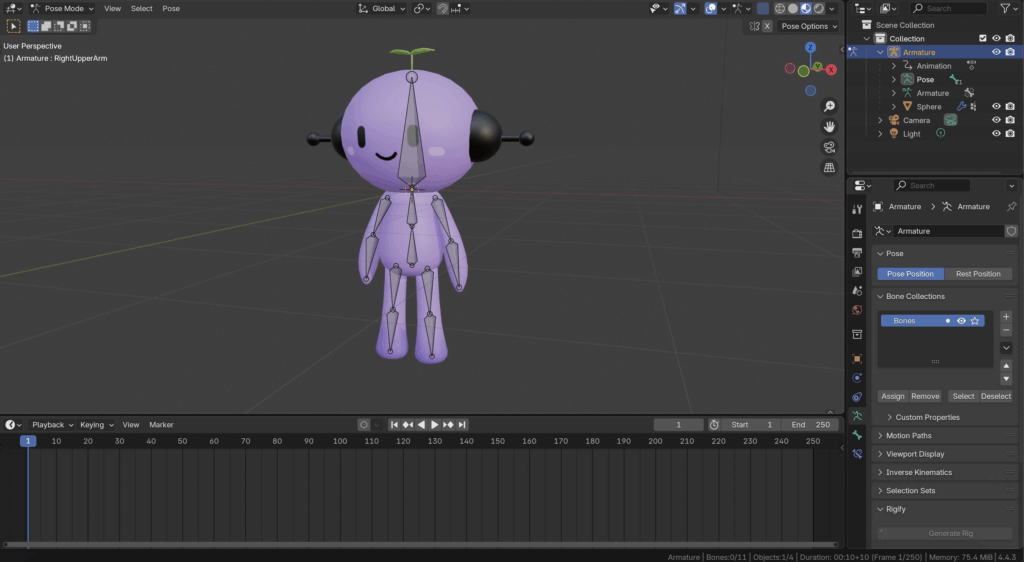
Step 2: Animating Positions with Keyframes
To make my character walk, I’ll start by creating a walking pose. I’ll move the arms and legs by selecting the bones and pressing R to rotate them into the right position. To make it easier to rotate, I turned to the side of the character, you should also do this to check if your pose looks right from all angles.

Step 3: Now we want to capture our pose within the timeline as a keyframe.
- Make sure your timeline is set at the first keyframe.
- Select your entire armature by pressing A.
- Then right click on your character and press Insert Keyframe.
You’ll know when you done it correctly when you see a little yellow diamond appear on your timeline.
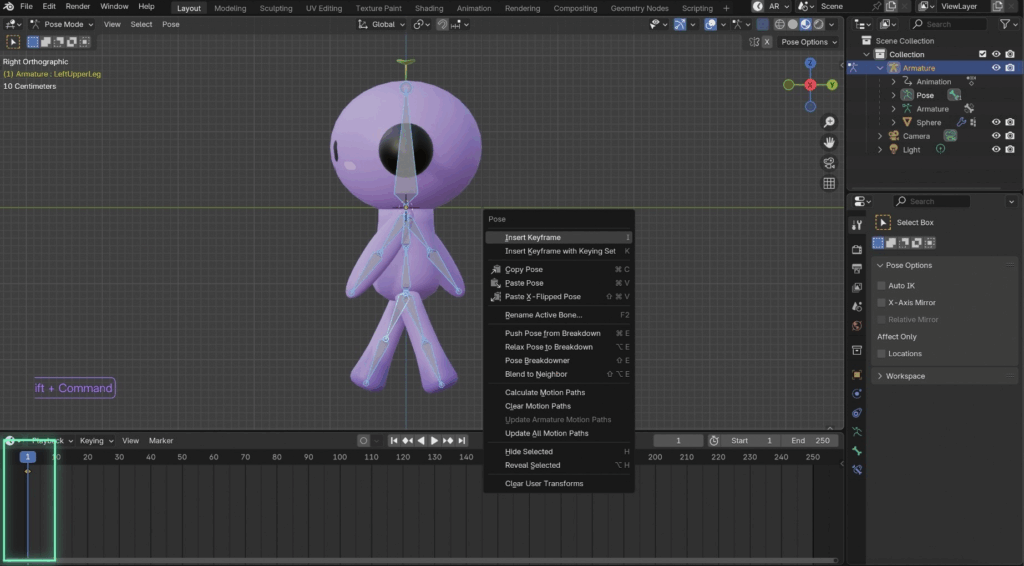
Step 4: Now let’s move along on our timeline, I’m going to just move to 10 seconds on my timeline by dragging the blue marker, then repeat Step 2 and 3. I’m going to move my bones onto the opposite side and insert another keyframe at 10 seconds.
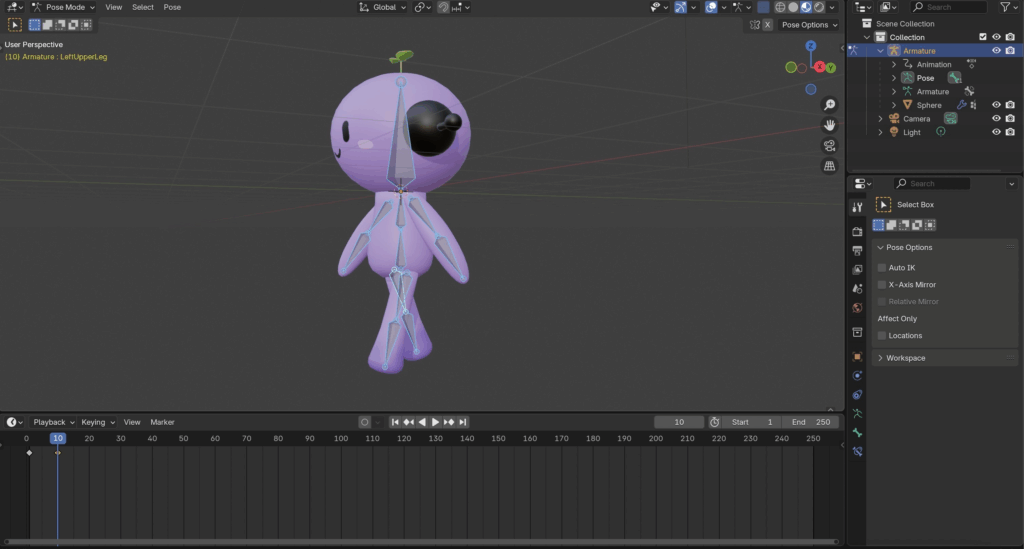
After you insert the second keyframe, you can now use your blue marker and scroll through the timeline to see your animation!
Step 5: Now let’s create another keyframe at 20 seconds, but this time instead of rigging our character we’re going to copy and paste our previous keyframe to finish the animation loop!
- Set your blue marker to 20 seconds
- Select your first keyframe at 1 second (you’ll know that you’ve selected it when the keyframe turns orange
- Copy with Command + C and paste it with Command + P
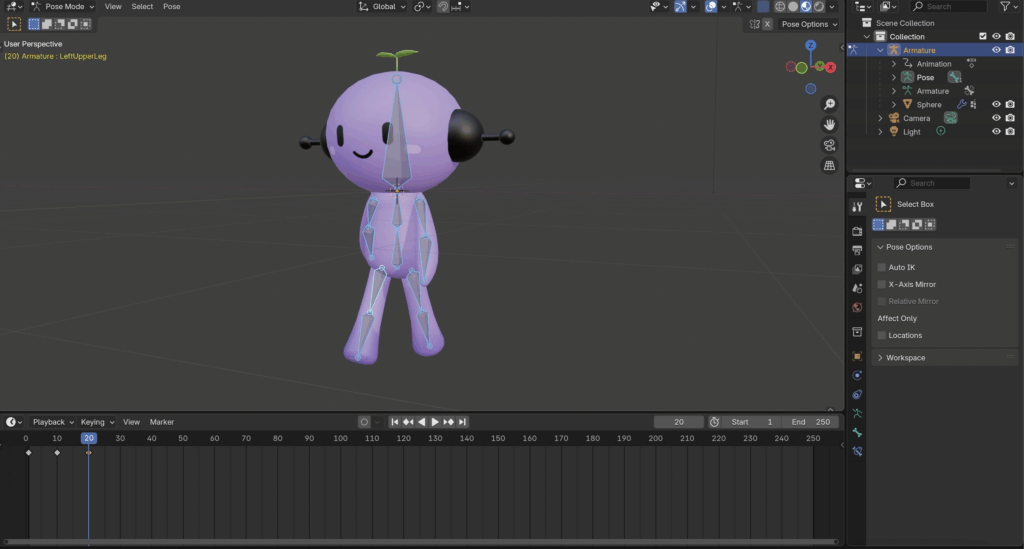
This will copy all the data from the first keyframe to our new keyframe at 20 seconds.
Step 6: Check your animation, you want to set your End from 250 seconds to 20 seconds (since thats where our last keyframe is) and then click space to see your animation.
If you want a better view of your character, you can hide the armature in the hierachy by clicking on the eye icon next to it!
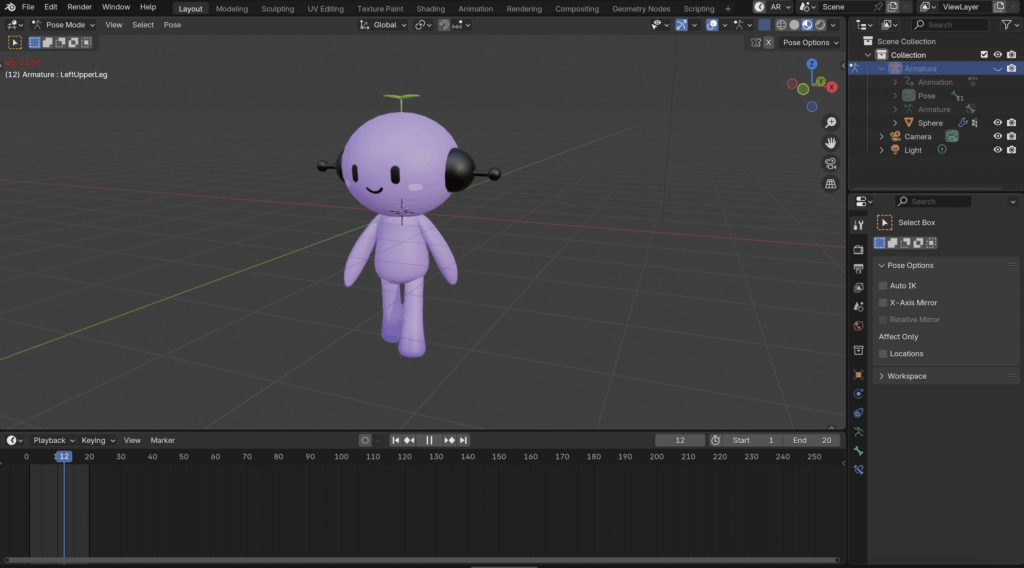
Step 7: And you’re all done! If you have any questions or get stuck while animating, feel free to ask for help in the Studio X Discord channel. Feel free to experiment with your animations, and remember to constantly save your progress.
If you’re done animating, and want to learn how to export the animation into Unity, use the Exporting Animations Tutorial.